


This is probably my favorite DIY I have ever done. It's gold and sparkly and pretty easy. I am a lazy person that loves sparkle, so this was perfect for me.
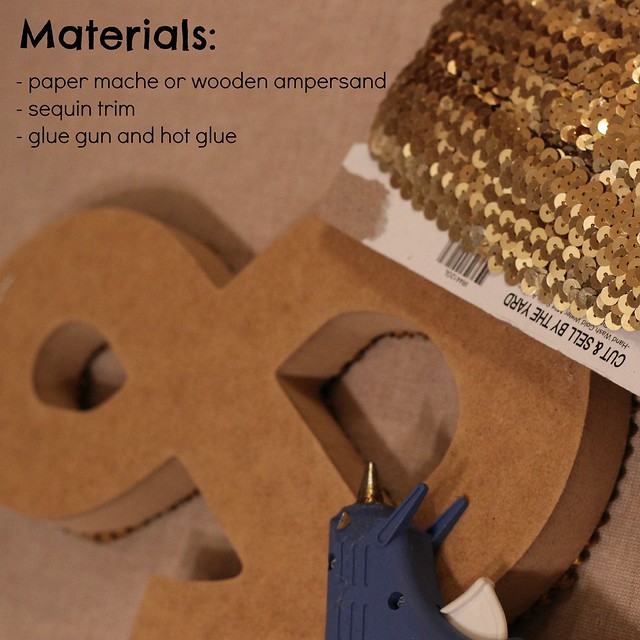
First, you have to gather your materials.
1. Sequin trim (I purchased 20 yards from Amazon, and I can probably make 2 more letters with it).
2. Paper mache or wooden letter. (I purchased mine from Michael's for a few dollars).
3. Hot glue and glue gun.
4. Scissors. (I thought these were a sort of obvious need, but I like to be thorough).

Before you start gluing the trim to the letter, fold over the end of the trim to seal it. The sequins could fall off. Start gluing down the trim as if you were tracing the outline of the ampersand with the trim. It's stretchy, so it should go around the curves. Only try to glue an inch at a time. When you get to the end of the ampersand, but the trim and fold over and glue the end like you did in the beginning. You'll need three rows of sequin trim.
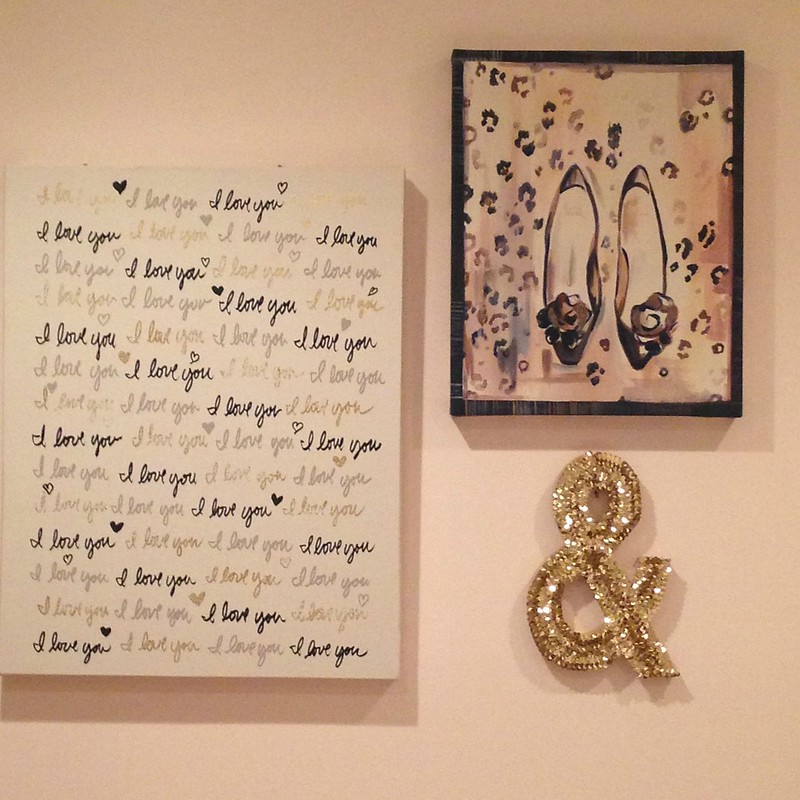
And here's the finished project in my gold and pink bedroom! I hung it up with just a long nail. I love how it adds a little bit of extra sparkle to this wall. But, I think it would look good propped up on a desk or bookshelf.
I first saw this DIY here, but I added a few extra instructions that I thought eliminated some trouble areas.
I first saw this DIY here, but I added a few extra instructions that I thought eliminated some trouble areas.

