Penniless Socialite: DIY
Showing posts with label DIY. Show all posts

Wednesday, September 3, 2014

DIY: Rhinestone Baseball Hat

DIY Rhinestone Baseball hat 1
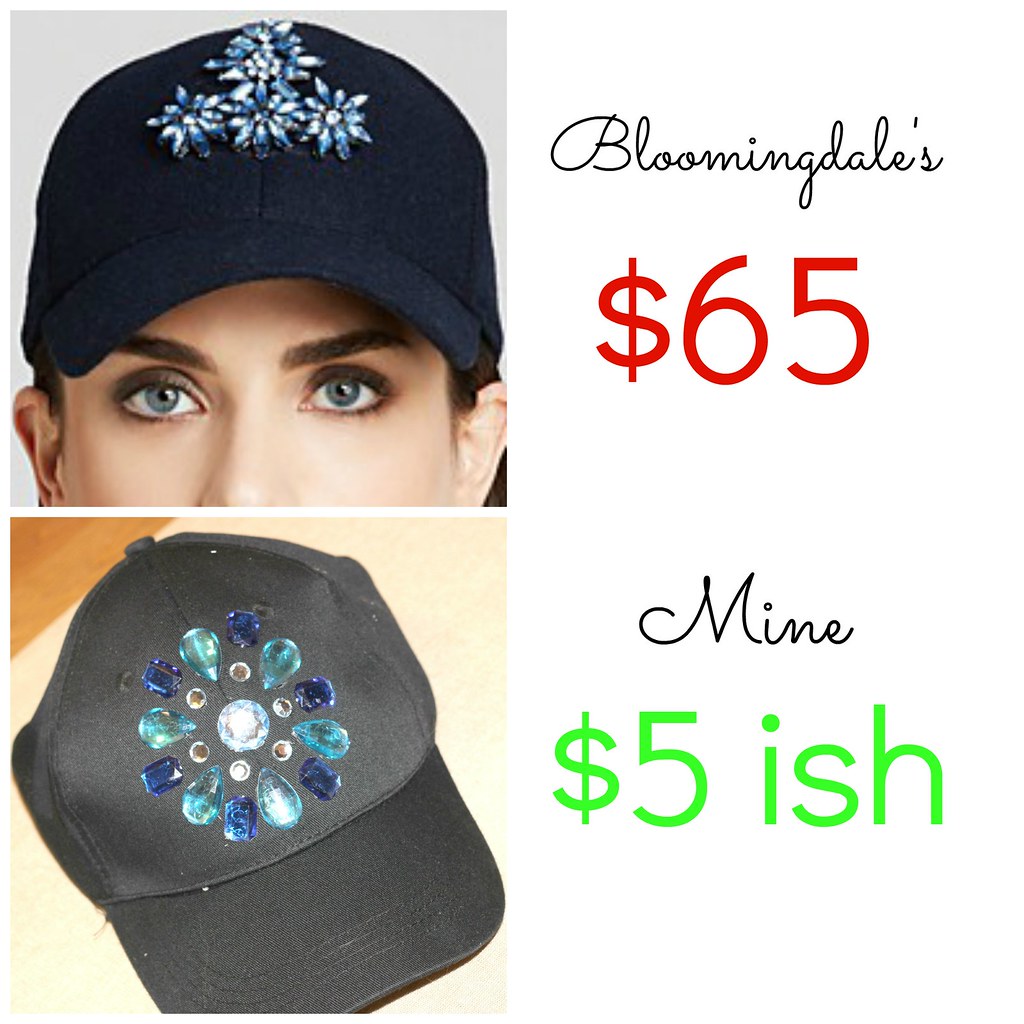
I've been perusing the new rhinestone baseball cap trend lately.  AND I LOVE IT.  As usual though, I don't love the prices.  Bloomindale's has a $65 option and that's just a little too pricey for me.  So, I made my own for about $5.
DIY Rhinestone Baseball hat 2

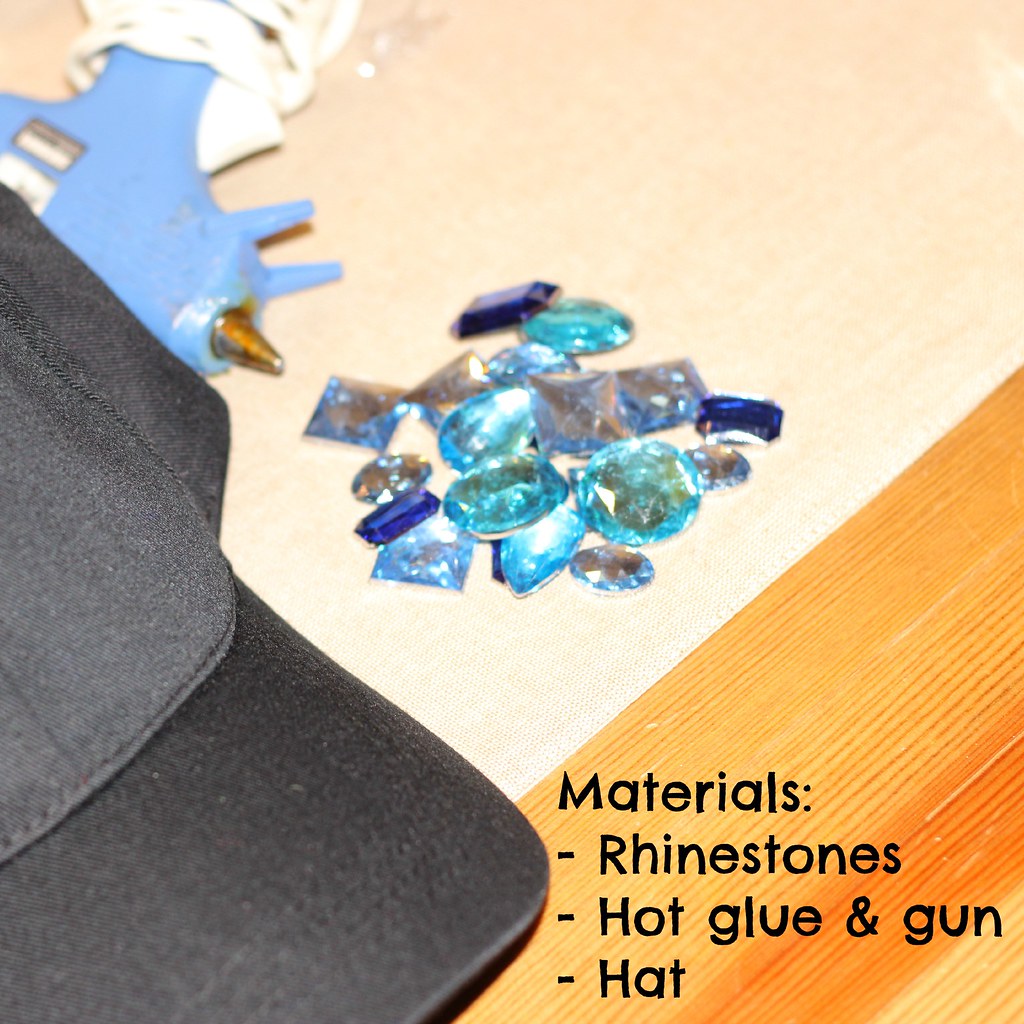
I gathered my materials at Michaels.  The hate was about $3 and I now have enough rhinestones to make about 20 hats...because apparently rhinestones are only sold in bulk.

DIY Rhinestone Baseball Hat 3

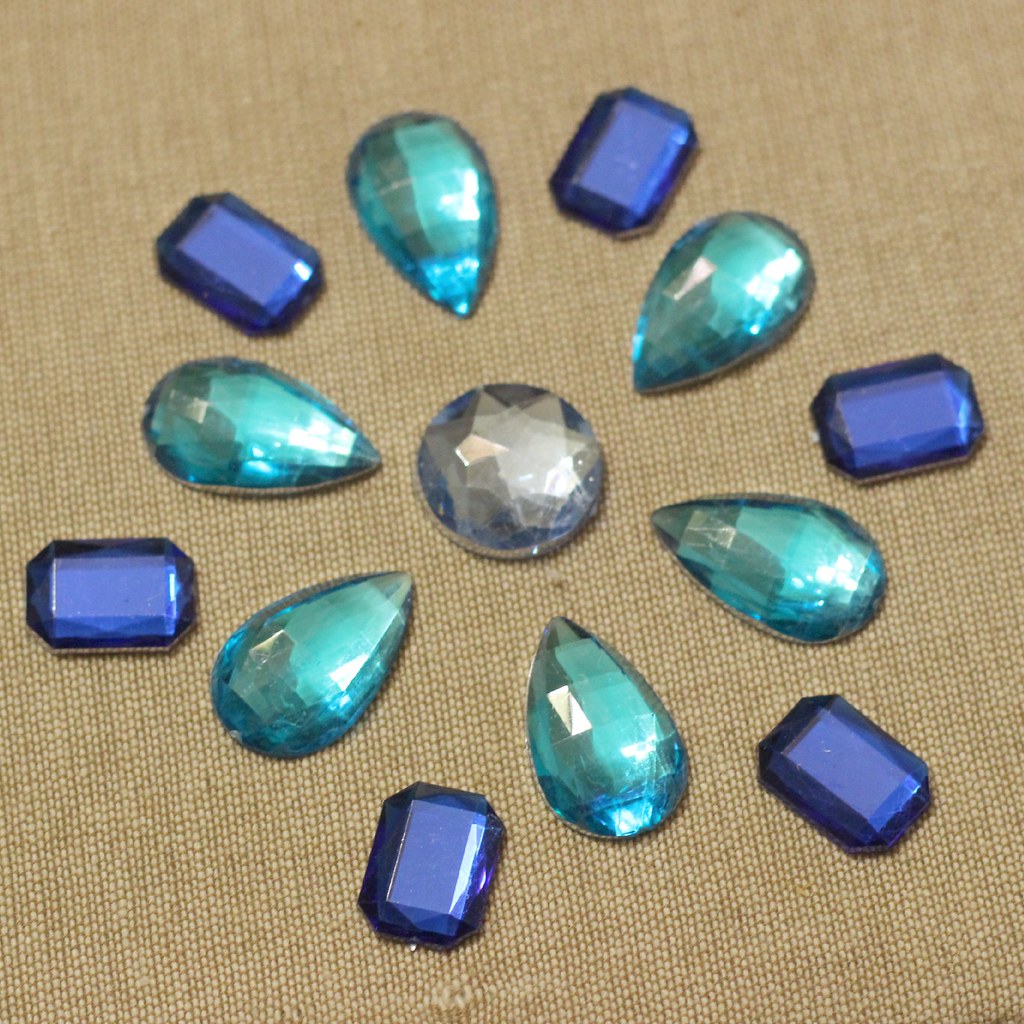
I laid out my chosen design beforehand.

DIY Rhinestone Baseball Hat 4
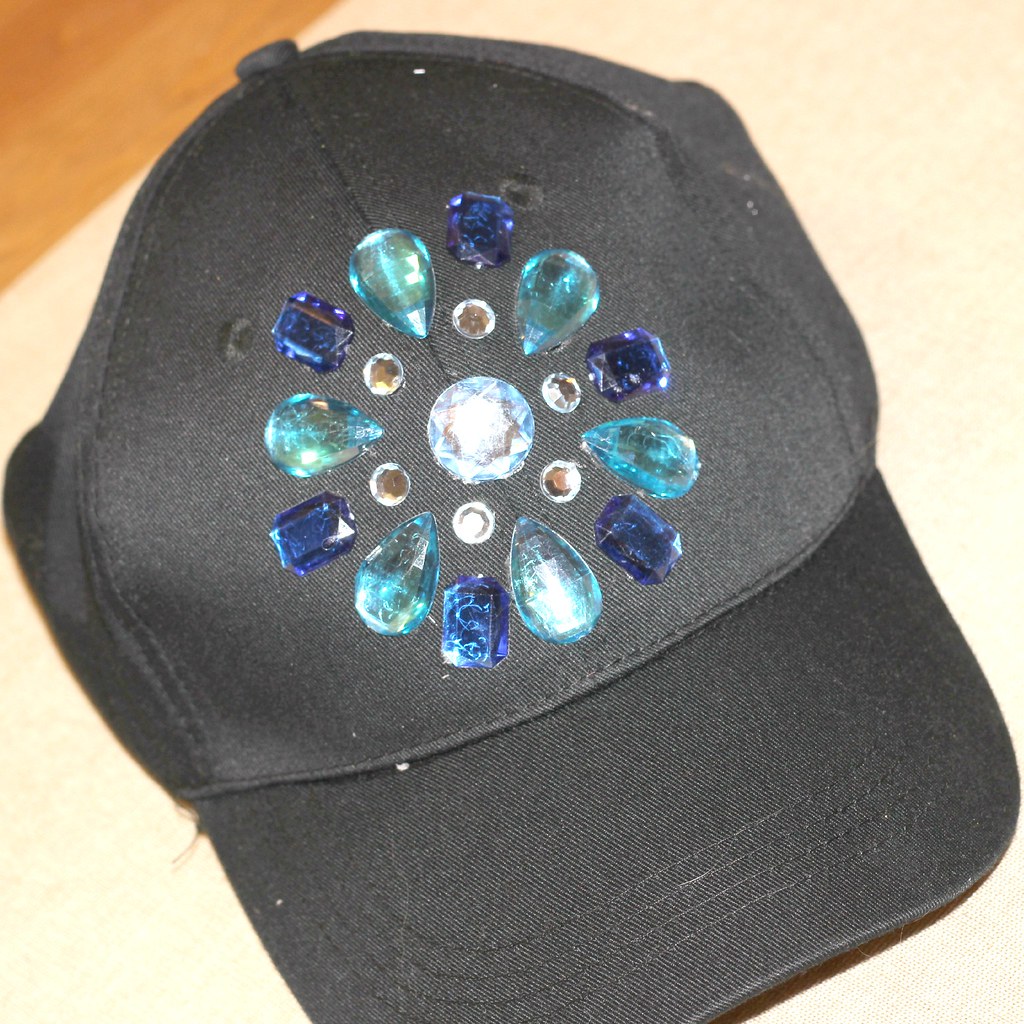
And then I glued and glued and glued.  At the end I use my nail to scrape off any excess glue that seeped out under the stones.  
DIY Rhinestone Hat 6
Have you recreated a fashion trend on the cheap lately?

Linking up with Style Me Wednesday, Tuesday Pretties
 photo Signature_zps67b37c0d.png

Tuesday, August 5, 2014

DIY: Sequin Ampersand

sequin ampersand diy 1 
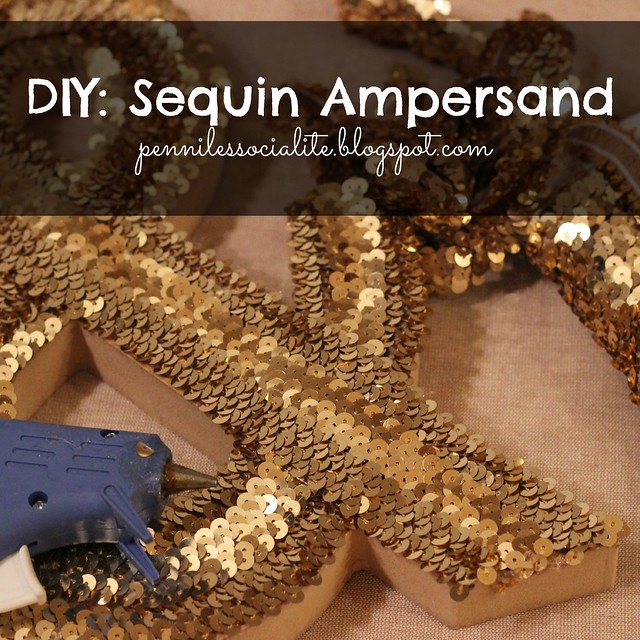
This is probably my favorite DIY I have ever done.  It's gold and sparkly and pretty easy.  I am a lazy person that loves sparkle, so this was perfect for me.

diy sequin ampersand materials  
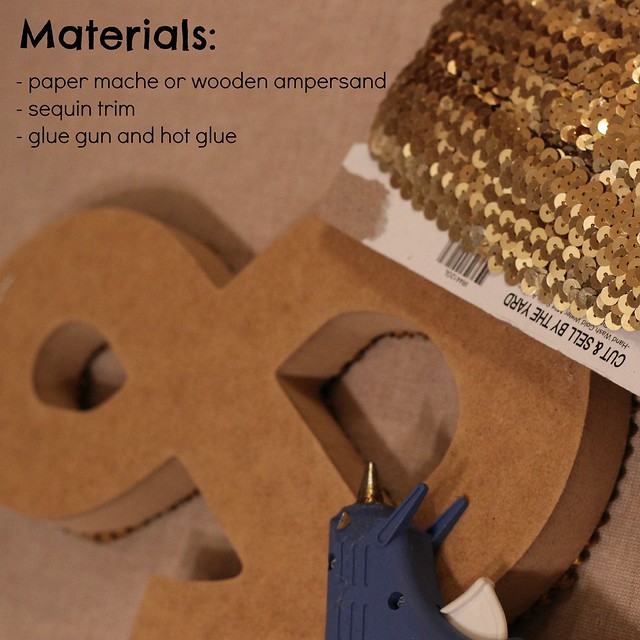
First, you have to gather your materials.
1. Sequin trim (I purchased 20 yards from Amazon, and I can probably make 2 more letters with it).
2. Paper mache or wooden letter.  (I purchased mine from Michael's for a few dollars).
3. Hot glue and glue gun.
4. Scissors.  (I thought these were a sort of obvious need, but I like to be thorough).
diy sequin ampersand arrows
Before you start gluing the trim to the letter, fold over the end of the trim to seal it.  The sequins could fall off.  Start gluing down the trim as if you were tracing the outline of the ampersand with the trim.  It's stretchy, so it should go around the curves.  Only try to glue an inch at a time.  When you get to the end of the ampersand, but the trim and fold over and glue the end like you did in the beginning.  You'll need three rows of sequin trim.
ampersand on wall
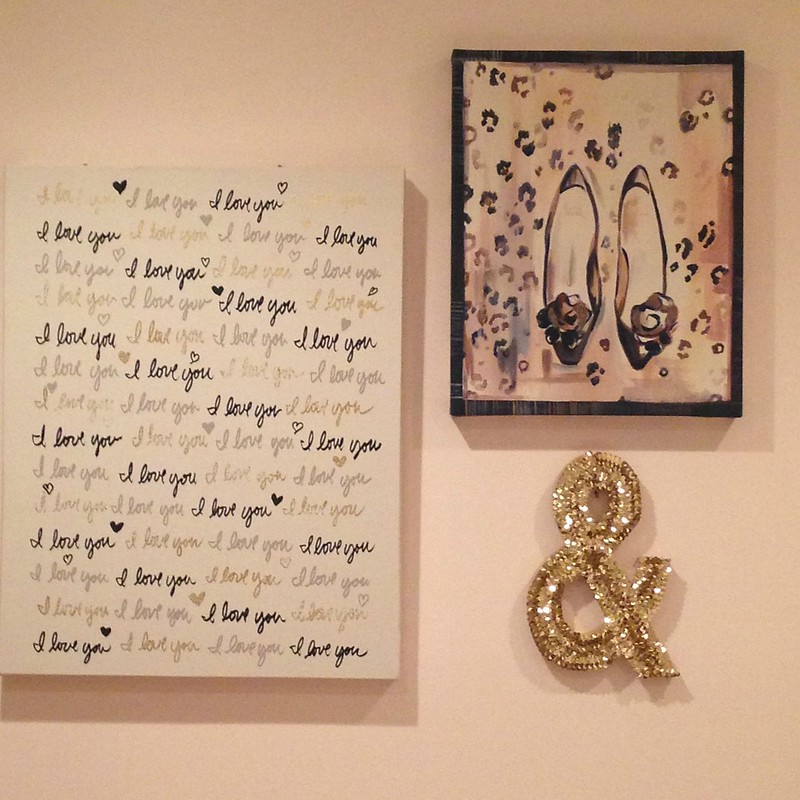
And here's the finished project in my gold and pink bedroom!  I hung it up with just a long nail.  I love how it adds a little bit of extra sparkle to this wall.  But, I think it would look good propped up on a desk or bookshelf.

I first saw this DIY here, but I added a few extra instructions that I thought eliminated some trouble areas.
Linking up with Tuesday PrettiesManic MondayThe Style RecordLittle Miss MondayMix it MondayFunday MondayMonday Morning GossipMonday MingleStyle Sessions.
 photo Signature_zps67b37c0d.png

Tuesday, July 1, 2014

DIY: Glass Top Vanity from an Ikea Shelf

DIY Vanity

A few weeks ago I gave you a little tour of my dressing room.  The centerpiece of the room is my vanity table.  This table was truly a labor of love.  I searched for months before moving into our new house, but just couldn't find anything that fit all of my requirements, until I found this tutorial on Pinterest.  And now I am giving you some more detailed instructions on how to construct this vanity using an Ikea shelf, table legs, and cheap doo dads from the hardware store.

Materials:
1 Ekby Gruvan Shelf (here)
4 Adils Legs (here)
18 3/8' screws
2 Dry wall screws (any size)
2 L brackets
Power drill
DIY Vanity 1 and 2 
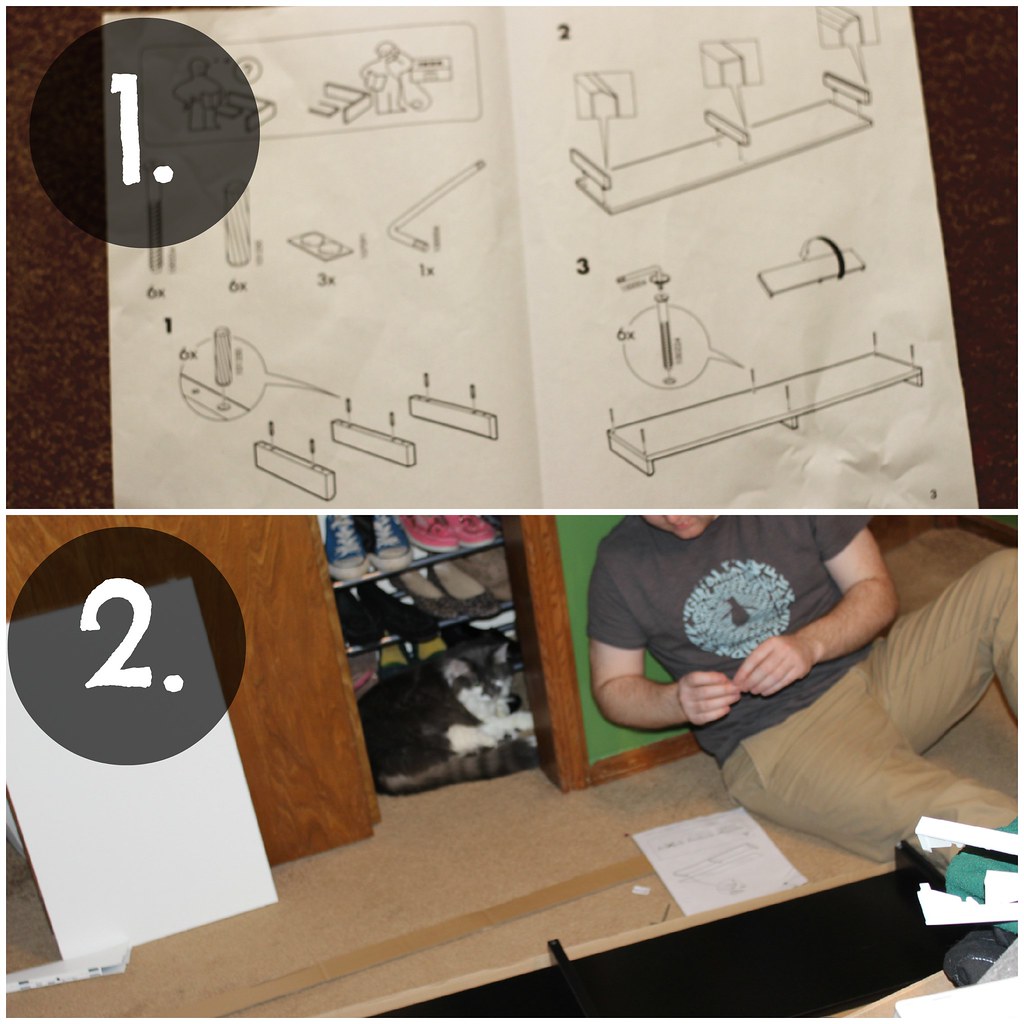
Step 1: Construct the shelf as per the Ikea instructions.  Seriously, it's super easy.  You only need the Allen key that comes with the shelf.

Step 2: Make sure to have an attentive supervisor.  This is probably the most important step.

DIY vanity 3-5
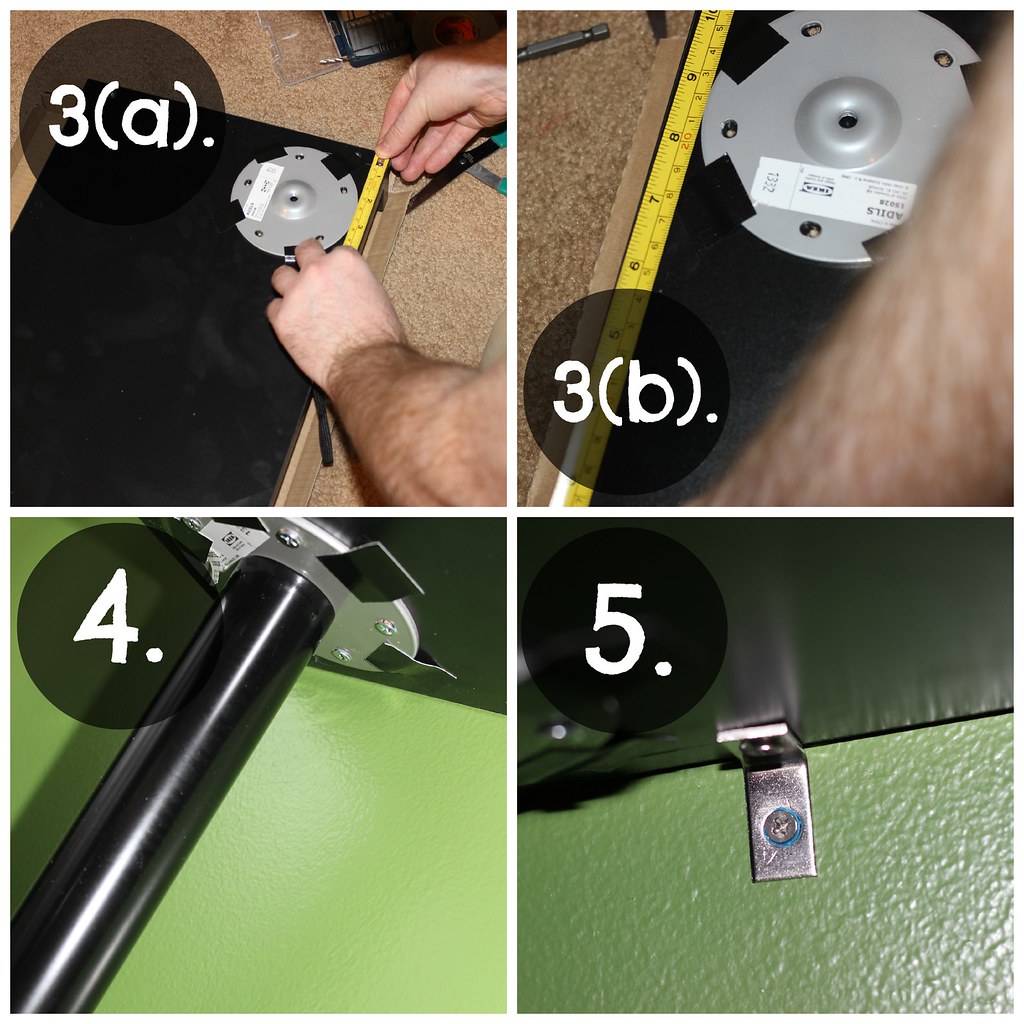
Step 3: Lay out the mounting plate for the table legs on the bottom of the shelf.  I laid it out such that the center of the mounting plate was 2 inches from the sides of the shelf.  I used black electrical tape to hold the mounting plate in place and then attached the mounting plate by using a drill to screw in the screws.

TIP: Do not use the screws that come with the legs to attach the mounting plate to the shelf.  The shelf is thinner than the tables these legs are meant to accompany.  I believe I used 3/8' screws, but measure the thickness of the shelf to determine which size screw to use.

Step 4: Attach the legs to the mounting plate.  They just screw in.

Step 5: For extra security, attach the vanity to the wall with L brackets.

 DIY Vanity 2 DIY Vanity 1
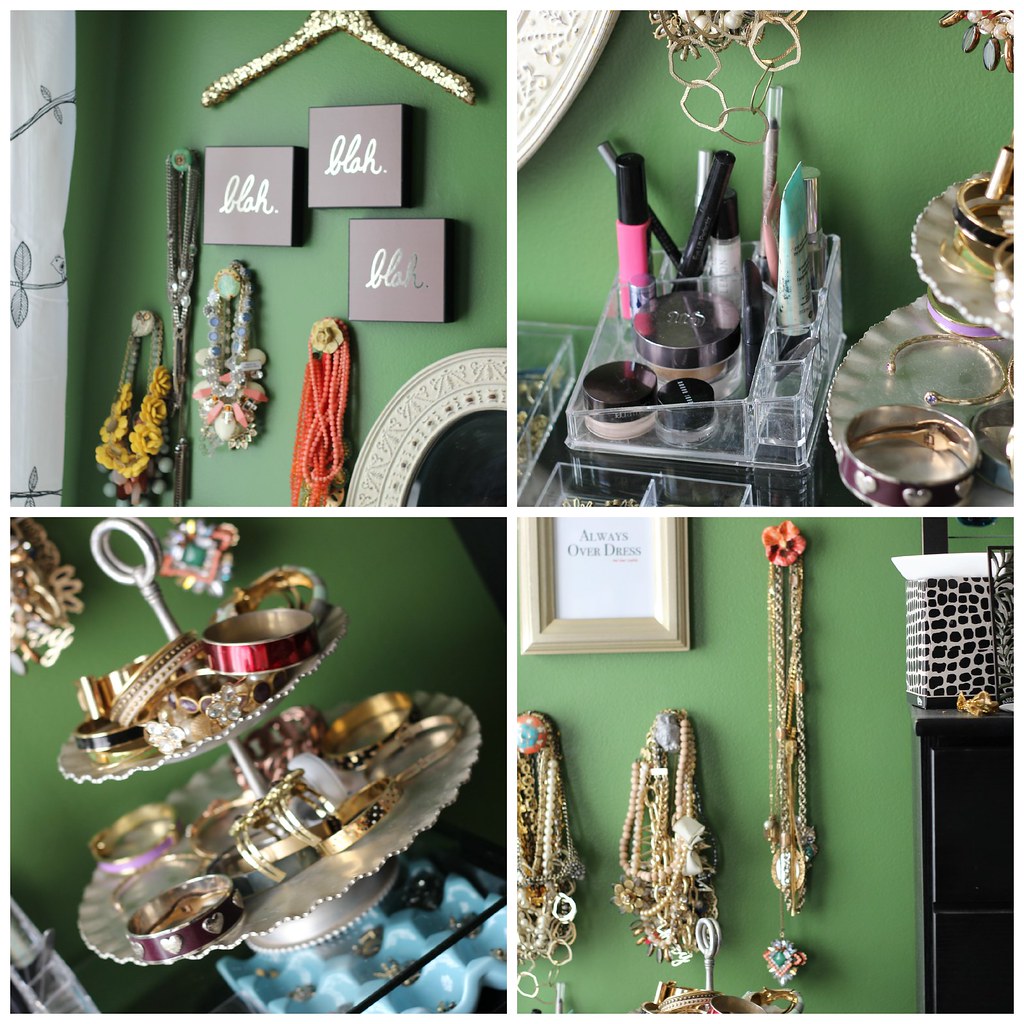
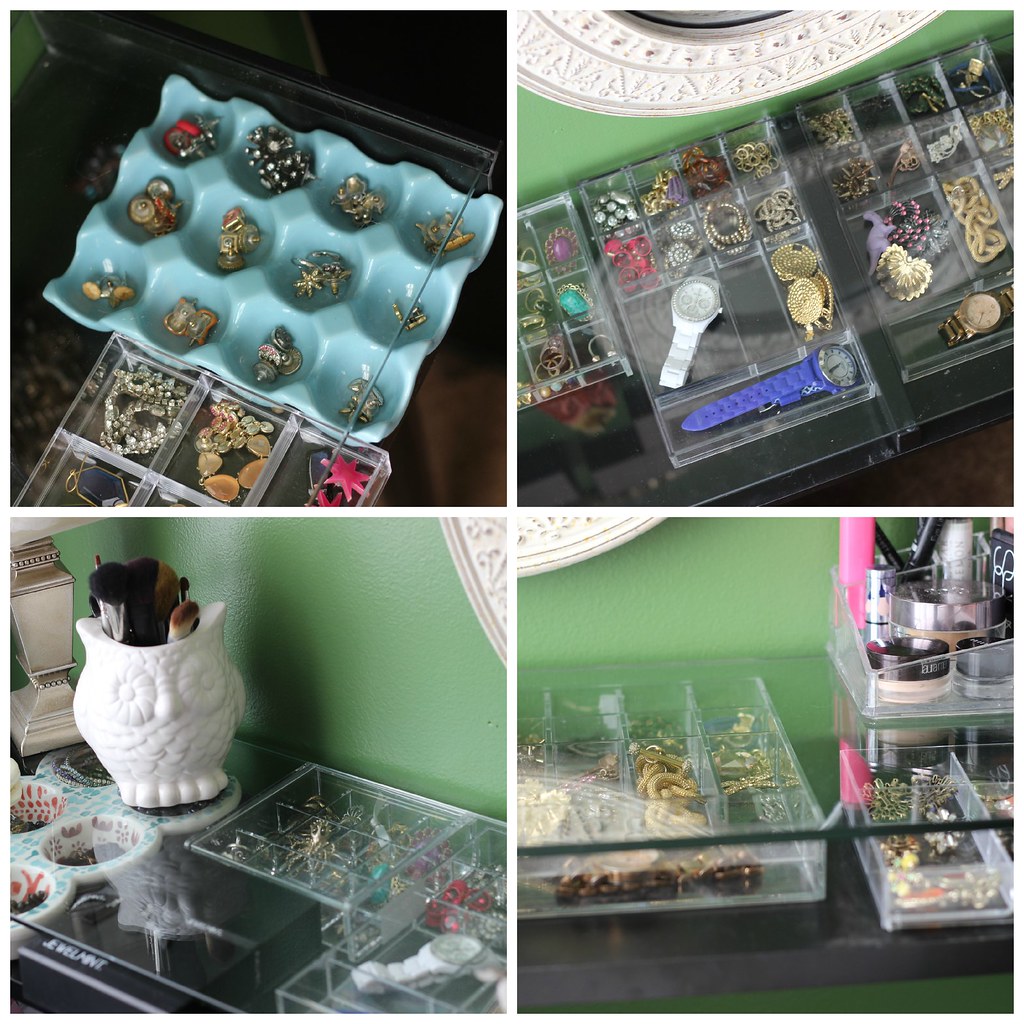
I purchased clear plastic trays from Marshall's and Home Goods to slide into the space between the glass and wood portion of the shelf.  The space is pretty thin, so you have to measure it before purchasing your trays.  I also had a ceramic egg tray and muffin tray from Anthropologie that also fit.  I then added extra storage on the walls using dresser knobs from Anthropologie.  I just drilled a hold in the wall, put in an anchor and then screwed the knobs directly into the wall.  Easy peezy!

The entire installation of the vanity and the wall accessories only took about 2 1/2 hours.  It was a surprisingly quick little weekend project!

 photo Signature_zps67b37c0d.png

Monday, February 4, 2013

Weekend Update: Sick, Lifetime and a Wreath Tutorial

Dress: Simply Be (via Gwynnie Bee) | Belt: Old Navy (worn here) |
Ankle boots: Marshall's (similar here) | Necklace: gift (similar here) |
Bracelets: Sira & Mara, Michael Kors, Bauble Bar (similar here & here)


I had big plans for this floral frock.  I borrowed this tunic from Gwynnie Bee and put on the perfect pair of black ankle boots that I had searched for for weeks.  And then disaster struck.  I spent most of this weekend sick on the couch watching Lifetime movies.  Shannen Doherty found her missing husband and took down a computer company falsifying its profits and some blonde lady's husband went missing and there was something with a voodoo cult.  I don't know.  I took a  lot of Nyquil.  Obviously, these photos were taken before I contracted the plague.
I removed myself from the couch long enough to get Mexican food Saturday night and then to watch the Superbowl at my parents' house last night (and stuff myself with tacos each time).  My sickness did not come with nausea or lack of appetite.
This might be the Nyquil talking, but I am also going to share a little crafty tutorial with you all that I managed to concoct while on the couch.

I purchased everything seen here from Michael's.
1. I wrapped a straw wreath in burlap garland.  Yeah, it's a real thing...you can find it over by the wreaths and fake flowers.
2.  On top of the burlap garland, I wrapped a portion of the wreath in lace ribbon.
3. I secured the garland and lace ribbon to the wreath with straight pins.
4. Lastly I hot glued little Valentine do-dads to the wreath.  I used some heart ornaments and rhinestones.  I secured a looop of heart printed ribbon to the top of the wreath with more straight pins in order to hang it on the door.

All the materials cost me about $20, but if I have enough stuff to cover 2 more wreaths if I want.
    
Full disclosure: I did not receive any thing from Gwynnie Bee in exchange for this post.  I found the service on my own and decided to sign up and share it with you guys.  I do get one free month of Gwynnie Bee for every lady that signs up for a paid month of Gwynnie Bee here.
This month's Supreme Whopper Sponsor is:
Related Posts Plugin for WordPress, Blogger...